Setup
Employee Setup should be completed before employees are added.
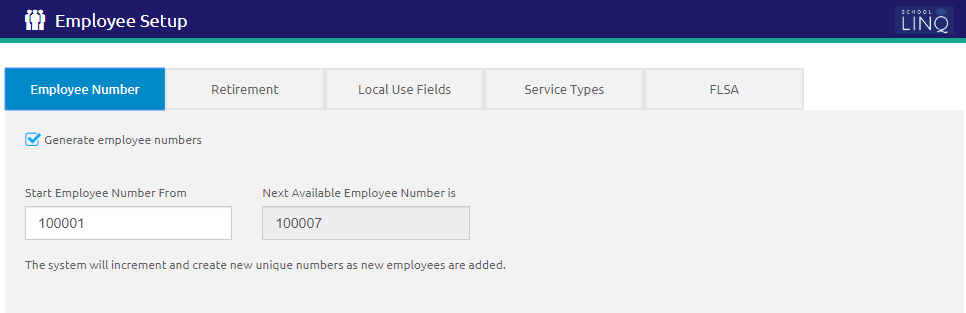
Employee Number Tab
In the Employee Number tab, the user determines the number that the Employee Number will start from when they are added in Manage Employees.
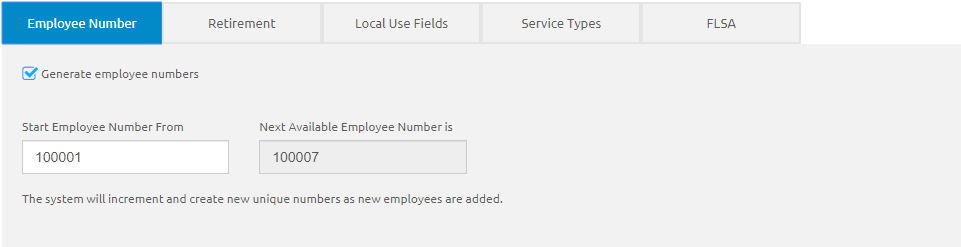
- Check the Generates employee number check box if the district would like School LINQ to automatically generate the employee number.
OR
- Enter the number to start employee numbers in the Start Employee Number From field.
- The Next Available Employee Number is field is read-only and displays the next assignable employee number.
- Click the
 button to save.
Retirement Tab
In the Retirement tab, the user selects the state where employees work, and therefore, which state their retirement account will be in.

- Select a state from the Retirement State drop-down list.
- Click the button.
Local Use Fields Tab
In the Local Use Fields tab, the user adds, updates, deletes and sorts custom data fields that display on the Local Use Fields tab in Manage Employees: Setup. The information entered on the Local Use Fields tab provides data for the Local Use Report.
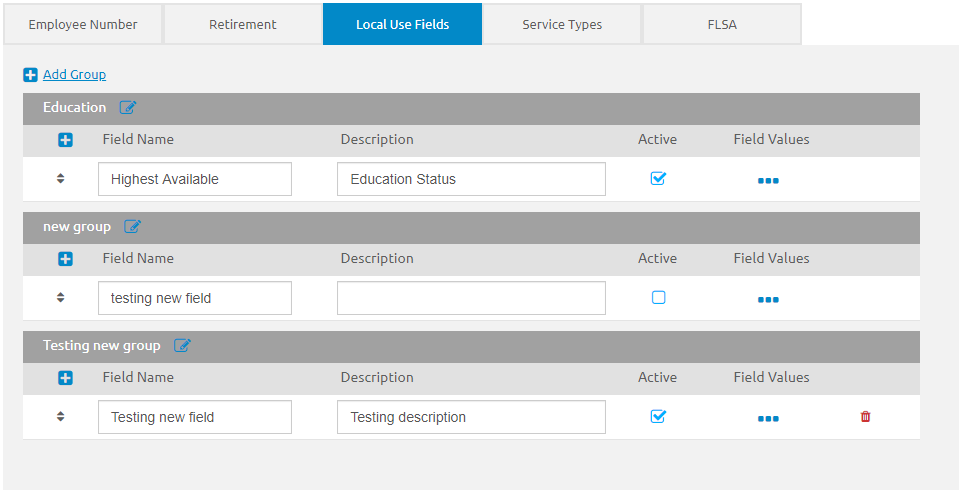
Add Group
- Click the
 Add Group icon.

- Enter the group name in the New Group field.
- Click the Finish Editing
 icon to create the new group.
 - Enter the field name in the New Field field and a description in the Description field.
Edit Group Name
- Click the
 icon next to the group to rename.

- Enter the new group name in the Group Name field.
- Click the Finish Editingicon.
Add New Field
- Click the icon in the group.
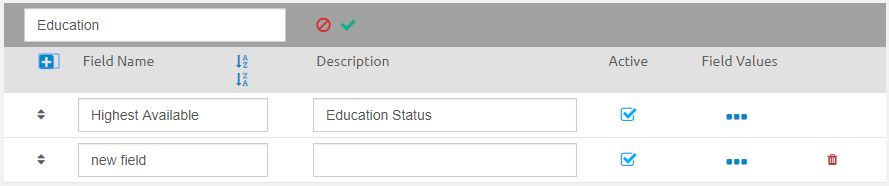
- Enter the new group name in the Field Name field.
- Enter the new description in Description field.
- Click the Delete Field
 icon if you wish to delete the new field.
Edit Field Values
- Click the
 icon. The Field Value List will display.
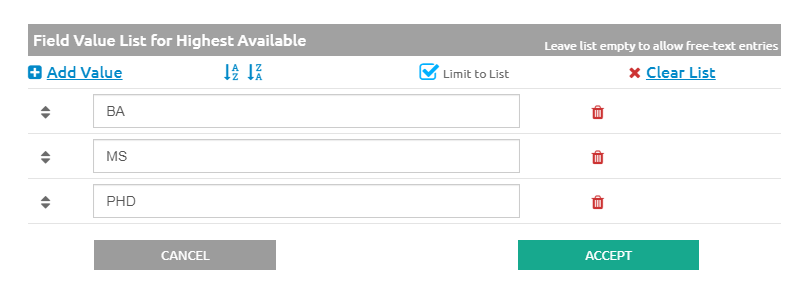
- Click the
 link to add a new line.
 - Click the icon to delete any lines.
- If necessary, click and drag the Drag to sort
 icon up and down. Rows will outline in orange indicating where the row will land when dropped.
 - Check the Limit to List box if users should only be able to choose from these options. Uncheck the box to allow users to choose from the items available or manually enter their own.
- Click the
 link to leave the list empty and allow free-text entries.
 - Click the
.png) button.
button.
Mark Fields as Active/Inactive
Fields are automatically set as Active.
-
 indicates Active.
 -
 indicates Inactive.
Service Types Tab
The Service Types tab allows users to define types of dates of service. The service types entered on this page determine the service types listed on the Dates of Service tab, including the order.
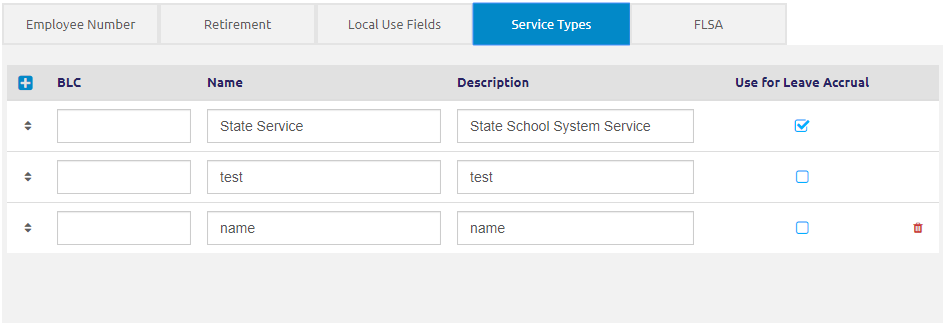
- Click the icon to add a new service type.
- Enter a name and description in the Name and Description fields.
- If the service type will be used for leave accrual, check the Leave Accrual box. Only one type can be flagged for leave accrual.
- Click the icon to delete a service type. Service types cannot be deleted if they are attached to a record.
- Click the button.
©2021 | EMS LINQ, Inc.
School LINQ Help, updated 01/2021